

The Cheapskate's back! And he's brought his tools.
I have a patch of grass in my backyard that, frankly, has no purpose in life. I also have a goal of growing more plants...especially edible ones but tender tropical flowers too...and the light bulb went off in my head: why not build a greenhouse there?
Slowly, I've been trying to achieve a goal of growing enough fruits and vegetables to supply the three of us for three months. I've got nectarine, orange, lemon, tangelo, apple, pomegranate, and plum trees. I've also got a couple of table grape vines, one red and one white, plus I grow tomatoes, corn, and zucchini.
A greenhouse would allow me to also grow some more vegetables over the cold fall and winter.
I've got the time and, browsing around online, I can find one in a kit that I can assemble for a few hundred dollars under a thousand dollars. In this case, I bought a Palram 6' x 8' greenhouse from Amazon that has a 7' peaked roof.
It's going to be about a week before it's delivered so let's prepare the site where it will go, starting with removing the lawn.
This is probably the hardest part because the grass it very well established with deep roots. It's also in a drier part of the yard so the soil is very hard and the previous owner had installed a plastic mesh under the grass that is another headache to remove.

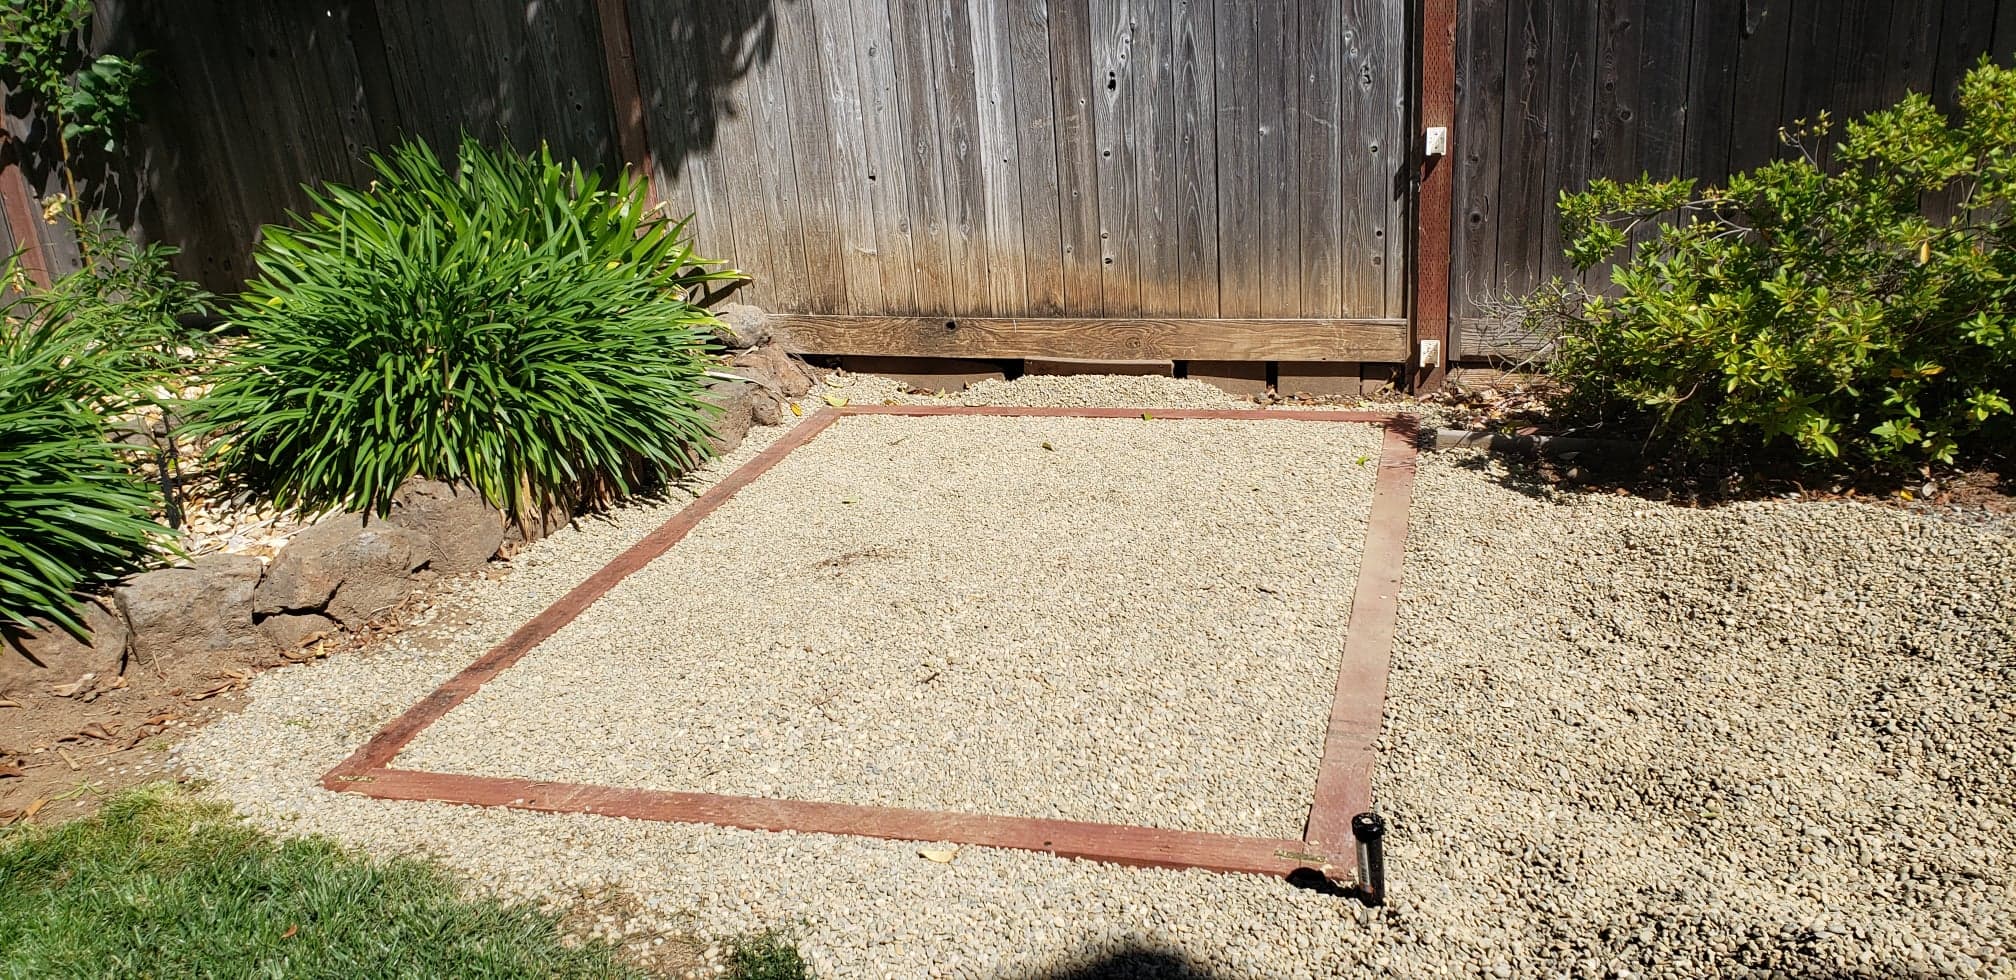
I measure off a 9' x 6' square (to give me an extra foot of wiggle room) and start digging with a shovel and hoe. I was lucky that it rained the day before, making the soil just a tad looser, but it was still quite a job. It took me two days to dig it out 3 inches deep.
With the hoe, I got the edges to be straight and vertical. This hole will be filled with pea gravel, which will be the floor of the greenhouse. The gravel will help with drainage and have more surface area than concrete which allows the water on it to evaporate more and create more humidity.

A short walk took me to a local quarry where I arranged for this dump truck to deposit a cubic yard of gravel next to my hole.
Next, before I move the gravel into my hole, I have to build a foundation to attach the greenhouse to so I go up to our local mega hardware store and purchase four 8 foot long, pressure treated 2x4s. Two of these I cut down to 66 inches so when they're attached into the long boards, I'll have an 8x6 frame.

Laying out the boards on top of 4x4 scraps...

...I attach each corner with a brace. This will hold the pieces in the correct alignment for the next step.

Now, I sink in two 6" lumber bolts into each corner to hold this altogether with a very strong connection.

When each corner is done, it looks like this.

Next, I lay the foundation frame into my hole and use pea gravel underneath to provide a base and make it level all around.

Once I'm satisfied that the frame is level and where I want it, I put 8 inch anchor spikes through the boards and into the ground.

There are 3 spikes in each 8 foot section and 2 in each 6 foot section for a total of 10 anchor spikes.
The last thing to do is to shovel in pea gravel into the frame, level it, and compact it as tight as I can get it by mashing it down with a hoe blade that I'm standing on.

That was done just in time, two days later the box with the greenhouse arrived via UPS. Now, to manhandle that 90 pound box up onto our patio table to open it up and check the contents.

Everything's there.

Now, assemble the base frame...

...and attach to the wooden foundation with 2" wood screws.

It's time to just put it together, which takes me two days to complete (see finished greenhouse at the top of this post).
No comments:
Post a Comment